Windows 10は、Microsoftが最も期待するバージョンのWindowsの1つです。Windows 8はデスクトップOSの世界で新しいトレンドを生み出しましたが、デザインとパフォーマンスにいくつかの問題があり、それがWindows 10のMicrosoftの主な焦点でした。したがって、Windows 10 Final Buildは、2015年7月29日にデスクトップ向けに発表されました。スマートフォンだけでなく。
Windows 8の欠陥を考慮した多くの変更が含まれています。実際、これはWindowsの高度なバージョンですが、それでも、さまざまなユーザーで毎日多くの結果が発生しています。
これらの結果の主な部分は、特定のタスクを実行しようとしたときに発生するエラーです。Windows 10内でさまざまなソフトウェアやブラウザーを開こうとしたときに、エラーメッセージが表示されました。このエラーには、アプリケーションを正しく起動できなかったというエラーメッセージ(0xc0000005)が含まれています。[OK]をクリックしてアプリケーションを閉じます。このエラーは通常、インターネットブラウザで発生しますが、これらに限定されません。Windows内のアプリケーションは、このエラーが原因で応答を停止する可能性があります。したがって、これらの重要なソフトウェアを元に戻すには、修正する必要があります。

2016年11月12日:以下の方法がWindows 7でも機能するとユーザーから報告されています。
Windows 10エラー0xc0000005の理由:
このエラーがWindows 10のさまざまなソフトウェアの動作を妨害する原因はいくつかあります。主な原因と考えられる理由の1つは、サードパーティのウイルス対策プログラムが実行可能ファイルとの競合を引き起こし、その動作に影響を与えることです。一方、マルウェアやウイルスが原因でレジストリが破損し、プログラムが異常な動作をする可能性があります。場合によっては、不良ハードウェアドライバーもこのエラーの原因である可能性があります。
Windows 10エラー0xc0000005を修正するソリューション:
上記の理由に基づいて、解決策は簡単です。したがって、このイライラするエラーメッセージを取り除くには、次のメソッドを実行します。
破損したシステムファイルを修復する
Restoroをダウンロードして実行し、破損したファイルや不足しているファイルをここからスキャンして復元します。完了したら、以下の解決策に進んでください。以下のソリューションに進む前に、すべてのシステムファイルが破損していないことを確認することが重要です。
方法#1:ウイルス対策プログラムを修正する
ウイルス対策プログラムは、多くのプログラムの実行可能ファイルに影響を与える可能性があります。したがって、この問題を解決するには、サードパーティのウイルス対策プログラムを無効にして、それが原因かどうかを確認する必要があります。ウイルス対策プログラムを無効にすると、インターネットに接続したときにコンピュータに深刻な脅威が発生する可能性があることに注意してください。
また、Windows独自のセキュリティソフトウェア、つまりWindows Defenderを利用することもできます。他のアンチウイルスと同じ機能を備えています。アンチウイルスを無効にするには、その設定に移動してシールドをオフにします。

無効にした後、エラーを再度確認してください。それでも解決しない場合は、次の方法に進みます。
方法2:レジストリを修正する
レジストリは、常にそれが実行する必要があることを多くの異なるファイル&設定を読んで助けるためにあなたのPCで使用されているWindowsの中央データベースです。すべてを所定の場所にスタックするために必要ないくつかの特定のファイルへの損傷により、レジストリが破損する可能性があります。したがって、ほとんどの専門家は、レジストリをバックアップし、このバックアップを従来のUSBスティックに保存して、破損した場合に以前の状態でレジストリを復活させることをお勧めします。ただし、レジストリをバックアップしなかった場合は、次の手順に従ってレジストリを修正し、エラー0xc0000005を解決してください。
1. このリンクからレジストリクリーナーソフトウェアをダウンロードします。
2.ダウンロード後、推奨設定を使用してインストールします。インストールプロセスが完了したら、ソフトウェアを開きます。
3.インターフェースで、左側のペインにある[ レジストリ ]タブをクリックし、[ 問題のスキャン ]というラベルの付いたボタンをクリックします。レジストリでエラーの検索を開始し、検索が完了すると、[ 選択した問題を修正 ]ボタンがアクティブになります。そのボタンをクリックすると、すべてが修正されます。

方法#3:障害のあるドライバーを修正する
ドライバーは、コンピューターに接続されているハードウェアと通信するためのソフトウェアプログラムです。そのため、ハードウェアが損傷すると、グリッチが発生する傾向があります。これらの欠陥のあるダイバーを修正すると、いくつかの方法であなたを助けることができます。以下の手順に従ってください。
1. デバイスマネージャによって押し勝利+ Xを、リストから選択。
2.デバイスマネージャ内で、下にスクロールして、黄色のマークが付いたハードウェアがあるかどうかを確認します。存在する場合は、その上で右クリックし、[ ドライバーソフトウェアの更新 ]を選択します。最近ドライバをインストールした場合は、それらのドライバも再インストールします。

3.後に表示されるウィンドウで、[ 自動的に検索して更新されたドライバーソフトウェアを検索する ]をクリックして、ドライバーを自動的に検索してインストールします。ドライバーを手動でダウンロードした場合は、以下のオプションをクリックして、それらを参照してインストールします。プロセスが完了したら、エラーを確認します。

方法#4:BCDを修正する
この方法は、ユーザー自身の責任で実行してください。これは一部では機能し、一部では機能しませんでした。このガイドの手順を実行した後、Windowsを再アクティブ化する必要もあります。
- ホールドWindowsキーと押してXを。コマンドプロンプト(管理者)を選択します
- 「bcdedit」と入力し、Enterキーを押します。WindowsブートローダーのパスがxOsload.exeの場合は、いくつかのファイルを削除してBCDを修復する必要があります。これは、「bcdedit」コマンドを実行した後、PATHフィールドで確認できます。
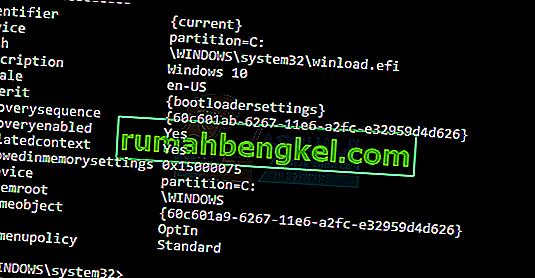
- 完了したら、以下のコマンドを実行します。一部は見つかりませんでしたがエラーを無視して最後まで続行する場合があります。各コマンドの後でEnterキーを押してください。

Del D:\Windows\System32\xOsload.exe Del D:\Windows\System32\xNtKrnl.exe Del D:\Windows\System32\Drivers\oem-drv64.sys attrib c:\boot\bcd -h -r -s ren c:\boot\bcd bcd.old bootrec /rebuildbcd
Method 5: Checking for Windows Updates
Windows Updates often contain fixes for some bugs and glitches but they are also notorious for giving way to new issues on people’s computers. However, in this step, we will be checking for any updates for your Operating system because Microsoft often patches any issues that come from their updates. In order to do that, follow the guide below.
- Press “Windows’ + “I” to open Windows settings.
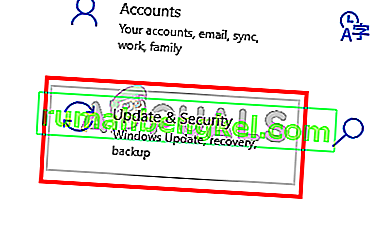
- In the settings, click on the “Updates and Security” option and from the left side, select the “Windows Update” option.
- On the next screen, click on the “Check for Updates” option and it will automatically prompt Windows to check for any available updates.

- After the update check is complete, click on the “Download” button to trigger the downloading and installation of new updates on your computer.
- After these updates have been installed, check to see if doing so has fixed the issue on your computer.


Method 6: Restoring Computer
If you have just started getting this issue, it might be getting triggered due to a faulty driver installation or even due to a rogue application that you might’ve installed on your computer recently. Therefore, in this step, we will be reverting the state of the computer to an earlier date and hopefully, this should get our issue fixed if it was due to the above-stated reasons. In order to do this:
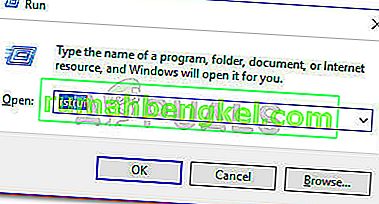
- Press “Windows” + “R” to open the Run prompt.
- Type in “rstrui” and press “Enter” to open the restore management window.
- Click on “Next” and check the “Show more Restore Points” option.
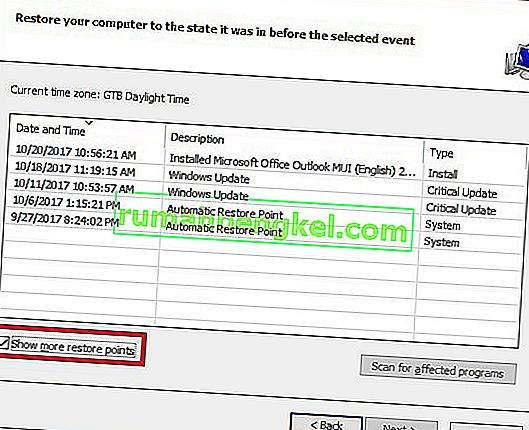
- Select a restore point from the list that is before the date on which this issue started occurring.
- Click on “Next” again and follow the on-screen instructions to revert everything back to the selected date.
- After the restore is completed, check to see if the issue still persists.


Method 7: Enable Firewall
It is possible in some cases, that the error is being triggered because the application is suspicious or at least if it has been marked suspicious and the Windows Firewall isn’t running on your computer to validate this suspicious. Therefore, in this step, we will be making sure that the Windows Firewall is enabled in order to get rid of this error. For that:
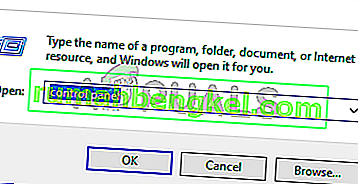
- Press “Windows” + “R” to open the Run prompt.
- Type in “Control Panel” and press “Enter” to launch the classical Control Panel interface.
- In the Control Panel, click on the “ViewBy:” option and select the “Large Icons” button.
- After making this selection, click on the “Windows Defender Firewall” option to launch the Firewall and then select the “Turn Windows Defender Firewall On or Off”.
- Make sure to check the “Turn on Windows Defender Firewall” for both the available options to turn the Firewall on.
- After making this selection, save your changes and close out of the Window.
- After doing so, check to see if the issue still persists.


Method 8: Run SFC Scan
In some situations, you might’ve installed a bad driver on your computer or at some point, due to a storage failure, some system files or drivers might’ve been corrupted. Therefore, in this step, we will be running a complete system scan to identify any drivers that are missing signatures or to fix any abnormalities in the system files. For that:
- Press “Windows’ + “R’ to open the Run prompt.
- Type in “cmd” and then press “Shift’ + “Ctrl” + “Enter” to provide admin permissions.Running the Command Prompt
- Type in the following command inside the command prompt and press “Enter” to execute it.
sfc /scannow
- Let the computer scan for any broken or corrupted items and it should automatically replace them with working ones.
- Check to see if doing so fixes the error message.

Method 9: Disabling Data Execution Prevention
Data Execution Prevention is a program that prevents certain programs or executables from being able to run on your computer because it suspects that they might be viruses. Due to this prevention, sometimes, as a false alarm, legit applications might also face issues while trying to run on your computer. Therefore, in this step, we will be disabling this setting from the system configuration panel. For that:
- Press ‘Windows’ + “R’ to open the Run prompt.
- Type in “Control Panel” and press “Enter” to launch the classical control panel interface.

- Inside the Control Panel, click on the “View By:” icon and then select the “Large Icons” option.
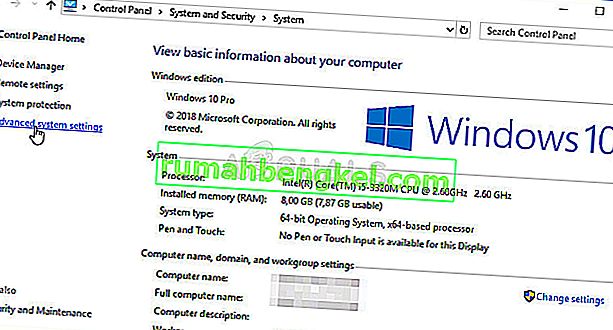
- After selecting Large Icons, select the “System” option.
- Click on the “Advanced System Settings” option on the left side of the screen.
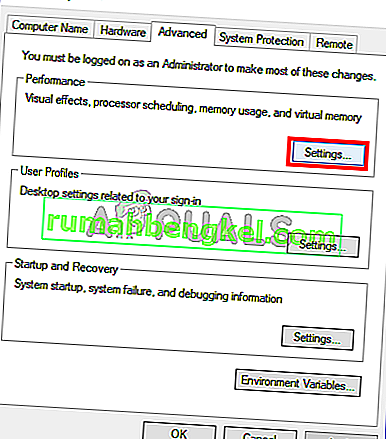
- In the advanced System Settings, click on the “Advanced” tab from the top.
- In the advanced tab, click on the “Settings” option under the “Performance” heading.
- On the next window that opens up, click on the “Data Execution Prevention” tab, and then select the “Turnon DEP for all programs except thoseI Select” option.
- After that, click on the “Add” option and point to the executable of the application that you are facing issues with.
- This way, that application will no longer come under the jurisdiction of the DEP program.
- Check to see if doing so has fixed the issue.


If the above process is unable to fix the issue, it might be because the executable isn’t the only one being affected by the DEP program. Sometimes the DEP might actually be preventing a herd of executables from being run on the computer and to counter this we will be disabling DEP completely.
Disabling DEP completely cannot be done through any Windows setting and it needs to be done manually through the command prompt. Remember to take this step as a last resort because this can in some cases makes your computer more vulnerable to viruses and malware attacks. In order to disable DEP through the command prompt:
- Press “Windows” + “R’ to open the Run prompt.
- Inside the Run prompt, type in “cmd” and then press “Shift” + “Ctrl” + “Enter” to launch in admin mode.
- Inside the command prompt, type in the following command and press “Enter” to execute it on your computer.
bcdedit.exe /set {current} nx AlwaysOff - Once the command has been executed, run the application that you want to and check to see if the error message still persists.
Method 10: Disable Firewall and Windows Defender
In some situations, the executable that you want to run on the computer might actually be blocked by the Firewall and it would not be able to make contact with its servers this way. Therefore, we will have to allow the executable in our Firewall for both public and private networks which should get it working if the Firewall is preventing it.
In addition to that, sometimes the Windows Defender might prevent the application from running on your computer because its local files might be suspicious and not properly signed. This can be due to a false alarm as well so we will be disabling the Windows Defender for the application as well by adding an exclusion. In order to do that:
- Press “Windows” + “R” to launch the Run prompt.
- Type in “ControlPanel” and press “Enter” to launch the classical control panel interface.
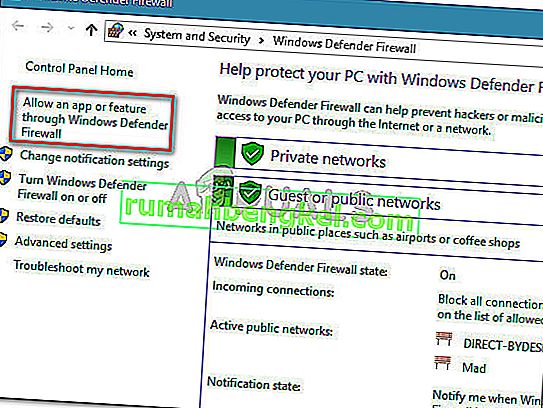
- Click on the “View by:” button, select “Large Icons” and then click on the Windows Defender Firewall option.
- Select the “Allow an app orfeature through the Firewall” button on the left pane and then click on the “Change Settings” button and accept the prompt.
- From here, make sure that you check both the “Public” and the “Private” options for the application and its entries.
- Save your changes and exit out of the window.
- After that, press “Windows” + “I” to launch the settings and click on the “Updateand Security” option.

- From the left pane, click on the “Windows Security” button and then click on the “Virus and Threat Protection” button.
- Select the “Manage Settings” button under the Virus and Threat Protection Settings heading.
- Scroll down and click on the “Add or Remove Exclusions” button in the next window.
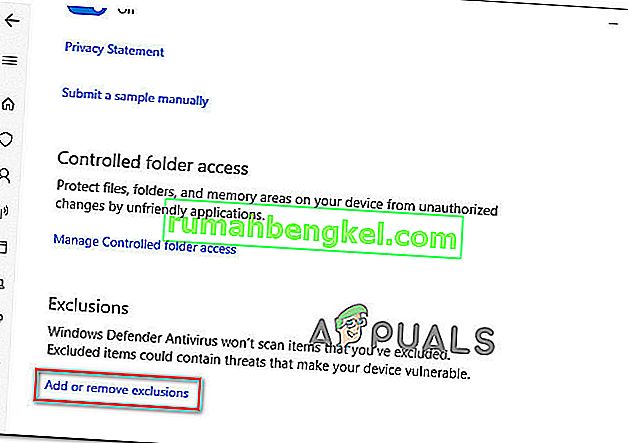
- Click on the “Add an Exclusion” option and select “Folder’ from the File type.
- Make sure to specify the application’s folder with which the issue is occurring and exit out of this window after saving your changes
- Check and see if doing so has fixed the error message.


Method 11: Reinstall Firefox
If you are getting this error while trying to launch Firefox, it might be occurring because the applications haven’t been installed properly on your computer. Therefore, in this step, we will be launching the app management window and uninstalling Firefox after which we will reinstall it completely by downloading it from the Firefox website. For that:
- Press “Windows” + “R” to open the Run prompt.
- Type in “appwiz.cpl” and press “Enter” to open the app management window.

- In the app management window, scroll down and right-click on the “Firefox” application.
- Select “Uninstall” from the list and then follow the on-screen instructions to remove the software from your computer.
- Repeat this step for all instances and bundled applications of the software installed on your computer.
- Make sure to disable any third-party antiviruses at this point to make sure that the software is installed smoothly.
- Head on over to the Mozilla website and click on the download button.

- Click on the downloaded executable and install it on your computer following the on-screen instructions.
- Check to see if doing so has fixed the error message on your computer.


Method 12: Scanning for Malware
It is possible in some cases that the computer has acquired malware that is preventing the user from being able to run all the system functions on their computer. Therefore, in this step, we will be using the default Windows Defender to scan our computer thoroughly for any viruses or malware that might’ve found its way on our computer. For that:
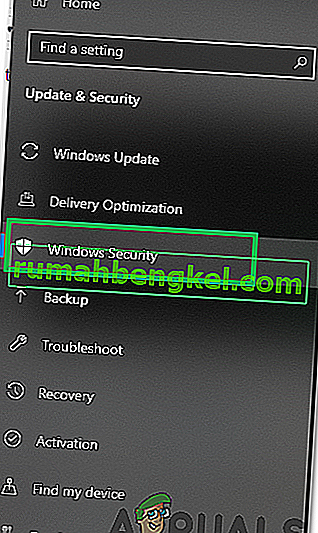
- Press the “Windows” + “I” keys simultaneously on your PC to open the Settings tab.
- Navigate to the Update& Security option and then click on the “Windows Security” button on the left tab.
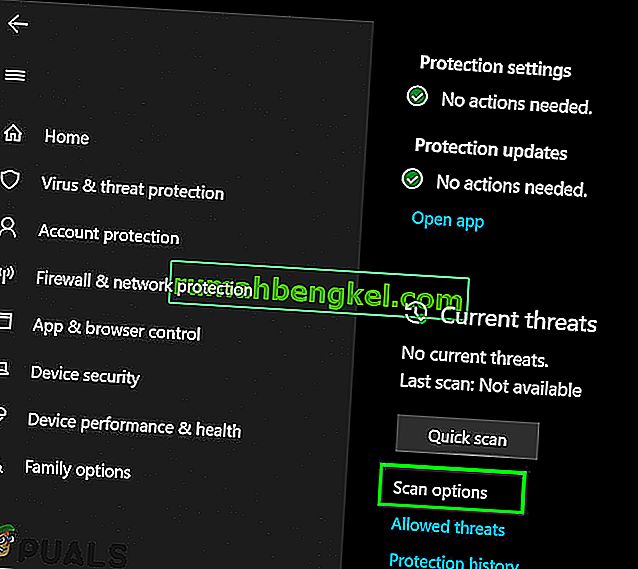
- After that, click on the “Open Windows Security” and select the “Virus and Threat Protection” option.
- After that, click on the “Scan Options” button below the “Quick Scan” window.
- Click on the “Full Scan” option and then hit the button of “Scan Now”.
- Wait for a few seconds while this process gets completed and then finally check if the error gets resolved now.


Microsoft Security Scanner is an additional tool that you can use to test the system for any further viruses and malware because sometimes the default tool isn’t able to perform the scan properly. Therefore, in this step, if the issue still hasn’t been resolved, we will be using the Microsoft Security Scanner to further make sure for any issues.
- Launch your browser and download the Microsoft Security Scanner from here.
- After downloading the executable, run it on your computer and let it install.
- Accept the License Agreement terms and click on “Next”.

- Select “Full Scan” and click on “Next”.
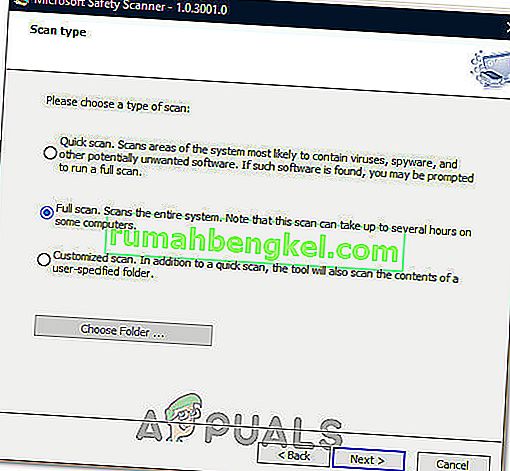
- After you opt for a full scan, the software will start scanning your entire computer to look for any malware or viruses that might’ve disguised themselves as normal executables or applications.
- After this scan has been finished, check to see if the error message still persists.


Method 13: Install Missing Drivers
It is possible in some situations that your device is missing certain drivers due to which this particular issue is being triggered on your computer. Therefore, we will be checking for any missing drivers and then we will check to see if the error is fixed. In order to do this, follow the guide below.
- Download Driver Easy on your computer.

- Run the downloaded executable and install the software on your computer.
- Run the check and see if there are any missing drivers on your computer.
- Install these missing drivers and then install them either manually or automatically using the Software.
- After installing all the missing drivers, check to see if the issue still persists.

Method 14: Reconfigure Registry
It is possible that in some cases, you haven’t properly configured all the registry settings or that you unknowingly configured something incorrectly. Therefore, in this step, we will be reconfiguring our Registry to fix a certain key that sometimes, if misconfigured, causes this particular error on Windows. In order to do this, follow the guide below.
- Press “Windows” + “R” to open the Run prompt.
- Type in “regedit” and press “enter” to launch the registry editor.

- Inside the registry editor, navigate to the following location.
HKLM\SOFTWARE\Microsoft\Windows NT\CurrentVersion\Windows\AppInit_Dlls
- Double click on the “LoadAppInit_DLLs” entry on the right side of the screen.
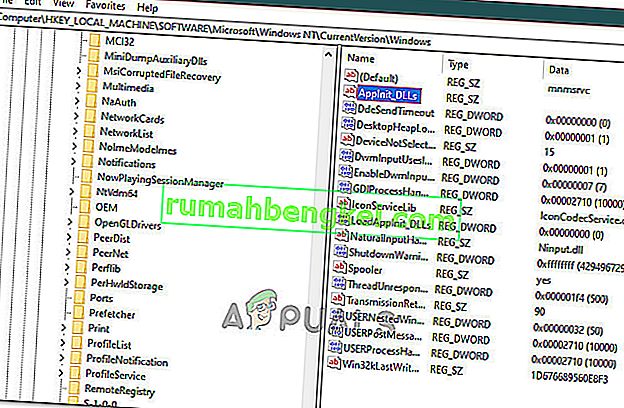
- Change the value of this registry from “1” to “0”.
- Save your changes and exit the registry editor.
- Check to see if doing so has fixed the error.


Method 15: Update Disk Drivers
In some cases, the Disk Drivers that are being used to control your Storage and other Disks installed on the computer might have been outdated due to which the error is being triggered. Therefore, in this step, we will first be opening the Device Management Window and from there, we will be updating these drivers. In order to do so, follow the steps mentioned below.
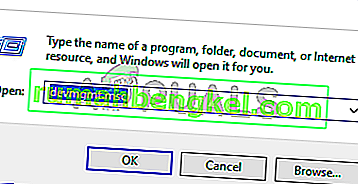
- Press “Windows’ + “R” to open the Run prompt.
- Type in “Devmgmt.msc” and press “Enter” to launch the device management window.
- In the Device Manager, double click on the “DiskDrives” option to expand it.
- Right-click on the storage device listed and select the “Update Driver” option.
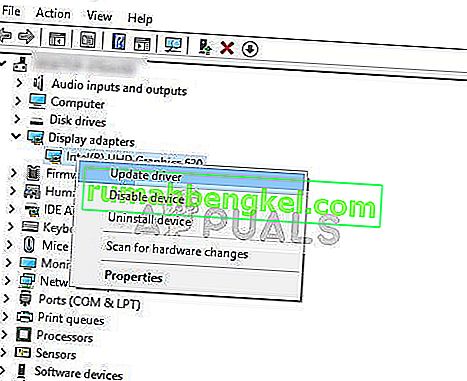
- Select the “Search Automatically for Drivers” option and let the setup search.
- If there are any drivers available, Windows will automatically check for them and install them on your computer.
- Check to see if doing so has fixed the issue.


Method 16: Disabling Automatic Updates and Uninstalling Updates
It is possible in some cases, that this error is stemming from a faulty update install. Microsoft is notorious for pushing out updates that aren’t properly customized to work for all hardware combinations and often go on to break things instead of making them better. Therefore we will make sure that the recent update isn’t installed on our computer.
In order to do this, we will have to first disable automatic updates on our computer and then we will be uninstalling the recently installed updates. Make sure to back up any important data that you don’t want to lose just in case this goes bad.
- Press “Windows” + “R’ to open the Run prompt.
- Type in “service.msc” and press “Enter”.

- Scroll through the list and double click on the “Windows Update” service.
- Click on the “Stop” button and then click on the “Startup Type” dropdown.
- Select “Disabled” from the list and select the “Apply” button from the window.
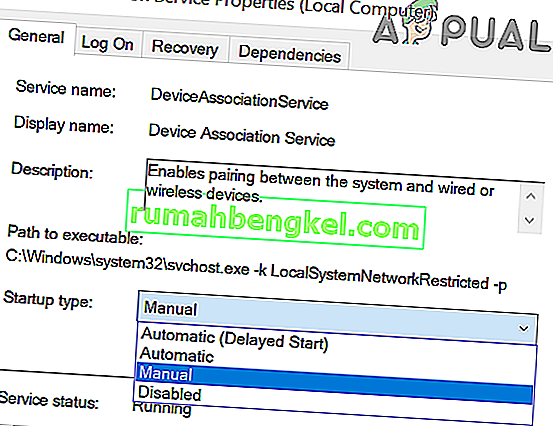
- Click on “OK” to close out of this window.
- Check to see if doing so has stopped your computer from updating.


After stopping the computer from updating, we will now be uninstalling the recent updates that have been installed on your computer. For that:
- Press “Windows” + “I” buttons to open the settings.
- In settings, click on the “Update and Security” option and then select the “Windows Update” button from the left pane.

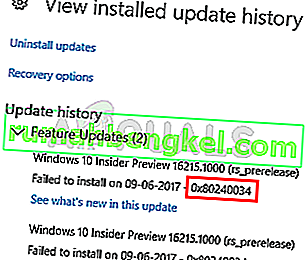
- In the Windows Update, click on the “View Update History” option.
- In the Update History, click on the “Uninstall Updates” option and it should take you to the uninstallation screen where all the recently installed updates will be listed.
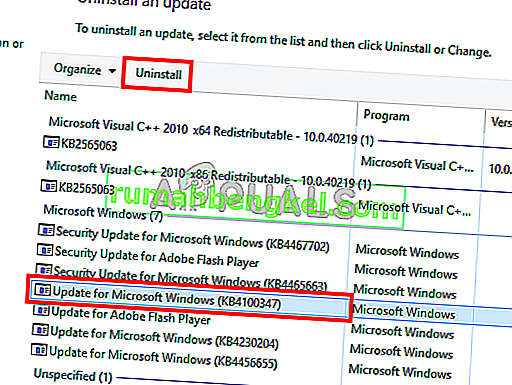
- From the list, right-click on the update that was installed recently and caused this error on your computer.
- Right-click on this update and select the “Uninstall” button to remove it completely from the computer.
- Follow through with the on-screen instructions.
- Check to see if uninstalling has fixed this issue.


Additional Fixes:
- In addition to some of the recommendations given above, you should try to check if there are any bad memory modules (RAM) installed on your computer which can be a cause of this.
- また、RAMを推奨制限を超えたレベルにオーバークロックしていないかどうかも確認してください。その場合は、工場出荷時のデフォルトに戻して、問題が解決するかどうかを確認してください。